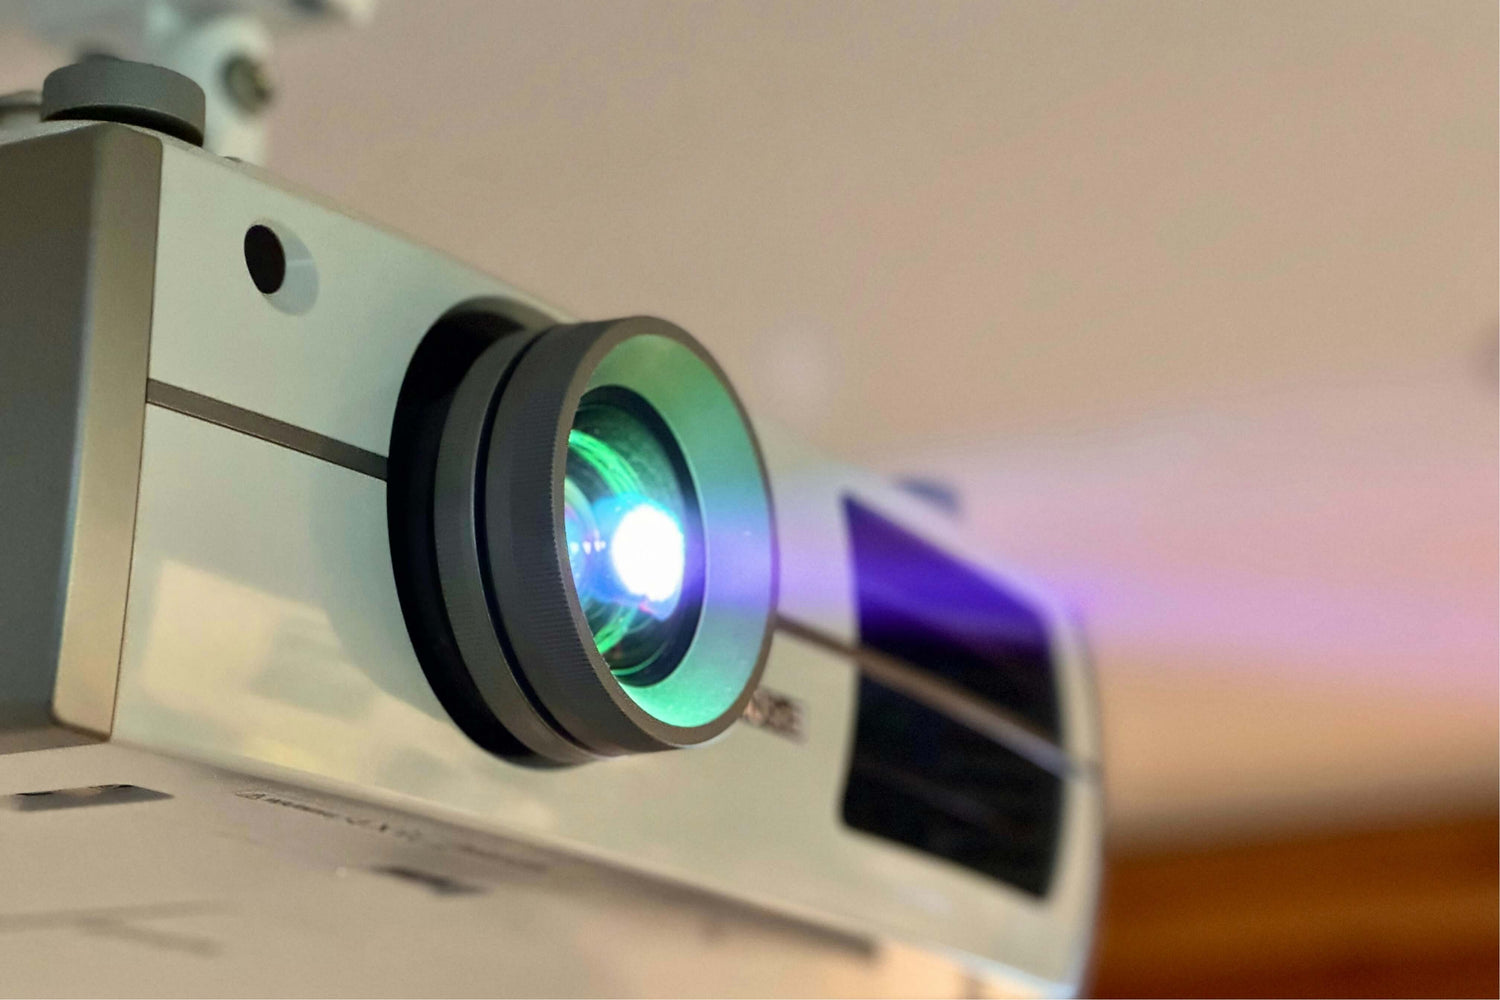
A projector is one of the best tools for enjoying movies, gaming, or presentations on a big screen. But over time, dust, fingerprints, and smudges can build up on the lens, making the image appear blurry or dim. Cleaning your projector lens safely is an essential part of maintenance.
In this guide, we’ll walk you through the safe and effective way to clean a projector lens, along with precautions, common mistakes to avoid, and tips for keeping it crystal clear for longer.

What You’ll Need Before Cleaning
Before you start, gather the right tools. Using the wrong cleaning materials can damage the delicate lens surface.
- Microfiber Cloth: A microfiber cloth is typically soft and lint-free. They are specially designed for optical lenses.
- Lens Cleaning Solution: Make sure they are project-specific liquids and avoid using household cleaning solutions.
- Lens Brush: They can effectively remove dust without scratching the lens.
- Cotton Swab: This is a useful tool for cleaning edges and corners.
Safety Precautions Before You Start
1. Turn off and unplug the projector: Before cleaning, make sure the projector is turned off and unplugged to prevent electrical hazards. Safety first. Cleaning a projector that has been turned on and powered on May cause damage to internal components or injury to the cleaning staff.
2. Allow it to be completely cold down: Wait at least 20 minutes until the projector is completely cold before cleaning the lens. During this period, the lens and internal components of the projector may still be very hot. If it comes into contact with liquid, the hot lens will crack.
3. Keep the environment clean and dust-free: Ensure that the cleaning personnel work in a clean and dust-free environment to reduce the chance of particles falling onto the lens. A dirty, messy, or dusty environment may prevent the projector from being cleaned thoroughly.
Step-by-Step Guide to Cleaning a Projector Lens
Step 1: Power Down and Cool Off
Unplug the projector and allow it to sit for at least 20–30 minutes until it’s completely cool.
Step 2: Remove Loose Dust
Use a hand air blower or a soft lens brush to gently remove dust. Do not blow with your mouth, as moisture can leave marks.
Step 3: Brush Away Stubborn Particles
If some dust remains, lightly sweep it with a lens brush. Always brush in one direction, not back and forth.
Step 4: Apply Lens Cleaning Solution
Never spray liquid directly on the lens. Instead, dampen a microfiber cloth with 1–2 drops of lens cleaning solution.
Step 5: Wipe the Lens Gently
Clean the lens using small circular motions from the center outward. This prevents streaks and pushes dirt away instead of spreading it.
Step 6: Use a cotton swab
Use a cotton swab to wipe the dust and stains off the edges and corners of the lens. Prevent dust and stains from spreading to the lens.
Step 7: Inspect the Lens
Hold the projector under good lighting and tilt it slightly to check for any smudges you may have missed.
Common Mistakes to Avoid
Many people tend to damage the projector lens unconsciously when cleaning. To safely clean the projector lens, one should also master the correct method. The following key points need to be noted
- Avoid using rough materials: Do not use rough materials such as tissues, paper towels, or clothes to clean the lens, as they can scratch the surface of the lens.
- Avoid direct spraying of liquids: Do not spray the cleaning solution directly onto the projector lens. Before use, be sure to apply it to a microfiber cloth and then wipe the lens.
- Avoid over-cleaning the lenses: Do not over-clean the lenses. Clean them only when necessary. Excessive cleaning increases the risk of lens scratches and other damage.
- Avoid direct touch of the lens: Do not touch the lens directly with your bare hands, as this may leave fingerprints and stains that are difficult to remove.
Tips for Long-Term Projector Lens Care
1. Use a lens cap: When the projector is not in use, please use the lens cap. This simple habit can not only prevent dust from accumulating but also provide a certain degree of protection.
2. Dust-free environment: Please keep the projector environment clean and avoid placing it in areas with a lot of dust or smoke, such as window sills, kitchens, or smoking areas.
3. Regular maintenance: Clean the air filter regularly to reduce the dust inside the projector. For instance, the HY310 is equipped with a built-in dust-proof sponge that can capture 95% of the dust particles in the air. And it is convenient to disassemble and clean it regularly.

Conclusion
Clean the projector lens according to the above safety steps. Use the correct tools, avoid using irritating chemicals, and handle the lens carefully. Mastering these skills can not only enhance your viewing experience but also extend the lifespan of the projector.
A little maintenance can be of great help. Only clean your projector lens when necessary. Your projector will reward you with movie-quality visual effects every time.
FAQs
1. Can I use alcohol to clean a projector lens?
It’s not recommended. Alcohol and household glass cleaners can strip away the special coating on the lens. Always use a lens-specific cleaning solution.
2. How often should I clean my projector lens?
Clean only when you notice dust, smudges, or a drop in image clarity. Over-cleaning can wear down the coating. For most users, once every few months is enough.